Aftermarket Gauge Installation
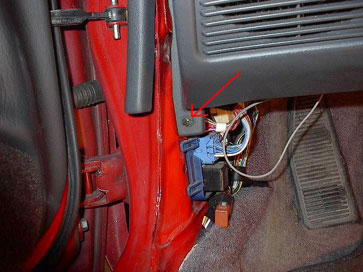
In order to wire the gauges, you may want to take the kick panel off. There are 5 screws holding it in, you should have taken 3 off already, so that leaves this one that is hidden and one on the bottom right.
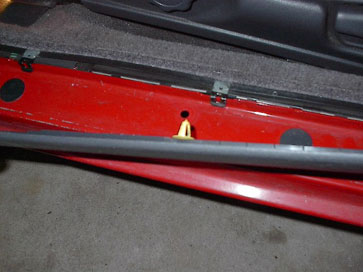
In order to get to the screw shown above, you got to take of the scuff guard below the door. It has 3 pop nuts in it shown below, one is under the 'C' in "Celica", one is under the 'A' and one is all the way to the right. Carefully slide a screwdriver between the plastic and the car and gently pry up. When you put it back on, make sure the holes are lined up and you don't break any.
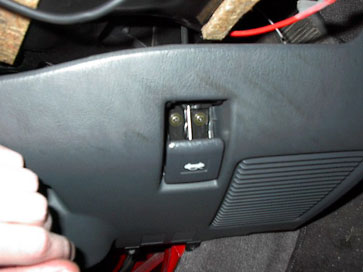
Now that all the screws are off, the only thing holding the kick panel in is the hood release. It has 2 screws behind the lever and one clip on the back, you can rotate the panel around if you need to. Take out the 2 screws, and unclip it.
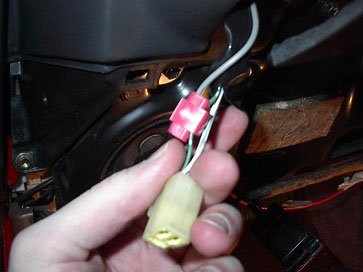
I wired my gauges into the dimmer switch, since that only has power when the headlights are on. In case you haven't noticed, my pictures aren't the best quality, but you get the idea in the pic below. The white clip hanging down I pulled out of the dimmer switch.
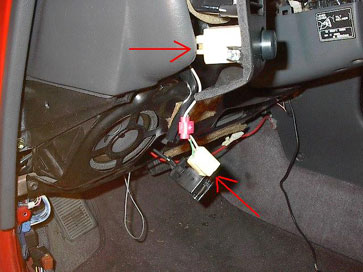
In order for the power wire to reach the dimmer control, you need to splice in some extra wire you have laying around. The gray wire in the picture is the power from the gauges. The green wire is the power from the dimmer control In the picture below, you can see how it all works. If you want a close up of the clip I used, click here.