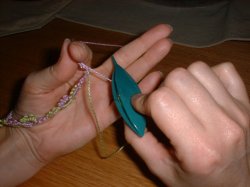
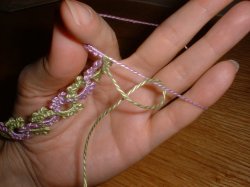
With Shuttle 1, Start a ring as you normally would. At this point I have already tatted the top half of my ring with my red shuttle, as follows:
R 2-2-2-2.
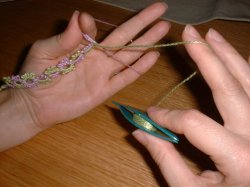
Now I put aside Red shuttle 1, and pick up shuttle 2, (my green one).
Place the shuttle over the bottom thread, as shown. Send it through the ring. |
 |
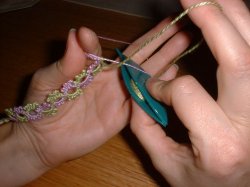
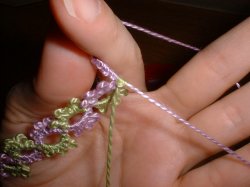
| Shttle 2 has gone through the ring, and I have backed it up, to go UNDERNEATH the ring, and finally pull it through the loop hanging below the shuttle. |
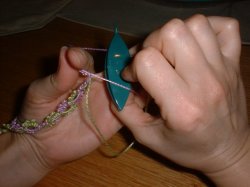 |
| Pull it through the lower loop, take up the slack... |
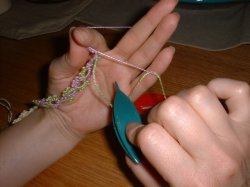 |
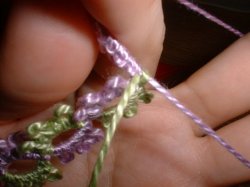
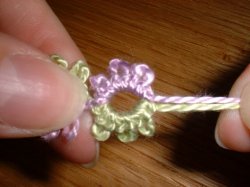
| Here is the shuttle 2 thread wrapped loosely around the ring (which was formed by shuttle 1). You will NOT flip the knot. |
 |
| You will simply let the twist slide down the ring until it lines up next to the very first stitch that was made with shuttle 1. It is easy to NOT flip the knot, just hold the ring thread very taut and slide the knot down. |
 |
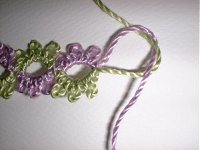
| Here is that half-stitch, next to the first stitches. Note that the shuttle 2 thread is still wrapped around the shuttle 1 ring, which is the inverse of what you would want for a normal ring. |
 |
Now for the second half of a split-ring doublestitch, which is a non-flipped first half of a normal double stitch.
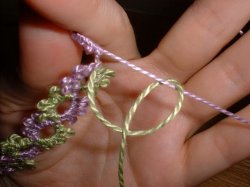
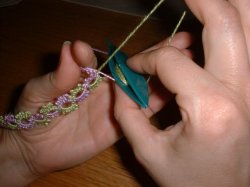
Hold the shuttle 2 thread up and out of the way with the middle finger. |
 |
| Insert the shuttle UNDER the ring. Note the ring thread is on top of the shuttle. |
 |
| Push it all the way through, and back it up, going backwards THROUGH the ring, and THROUGH the loop created by the middle finger thread. |
 |
| Take up the slack and pull this half stitch next to its counterpart, WITHOUT flipping the knot. |
 |
| Here is the complete doublestitch. You will notice that it slides on the ring formed by the Shuttle 1 thread |
 |
The rest is history, picots are done in the same way, leaving a space between stitches, just make sure you do not flip these stitches on the bottom side of the ring.
I have done a mirror image of the stitches I made with shuttle 1, and the notation would be:
S.R.: 2-2-2-2 / 2-2-2-2. |
 |
| Here is the closed ring. Close the split ring by pulling shuttle 1. |
 |
| You may notice that the pink and green halves of the split rings flip-flop. This is because in between each Split Ring, I tied a knot like the first half of a square knot, to reverse the colors. Now When I go to do the next split ring, I would be starting with the green shuttle as my Shuttle 1. |
 |
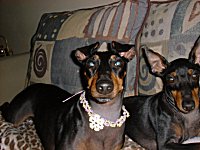
| Here is Doug, modeling the finished necklace, which is actually a dog collar. |
 |