PowerPoint Topic 8
Others
(Optional)
Navigate
in Slide Show View
Use the Slide
Navigator
on the Show
Popup menu
to navigate through a presentation in Slide Show view and to
start or end a slide show with any slide.
Click <Slide
Show> button
The Show
Popup Menu button
appears (left)

Click <Go>
<Slide Navigator>
To
end the slide show
<Esc>
Annotate Slides During a Slide Show
During a slide show presentation, you can annotate slides by drawing free hand lines and shapes to emphasize a point.
Click <Slide Show> button
The Show Popup menu button appears (left)
Click <Pointer Options> <Pen>
To change the pen colour
Click <Pointer Options> <Pen Color>
To end the slide show <Esc>
Creating, Editing and Deleting
the Custom Show
With PowerPoint, you can create a presentation within a presentation. You can group together various slides, name that group, and then jump to these slides during the presentation.
Click <Slide Sorter View> button
Click <Slide Show>
Select <Custom Shows> Click <New>


Type
Custom
Show 1(Slide Show Name box)
Select Slide
#
<Add>
1,3,4,6,8,13
Click
<OK>
<Show>
Create Graphics file(s)
Menu, Point and click <File>: click Save As
Windows
Metafile
JPEG Filter
Gif Filter
Portable Network Graphics (PNG)
Send a Presentation Via E-mail
You can send a presentation over either a local network or the Internet by using an e-mail program, such as Microsoft Outlook or Microsoft Outlook Express.
Microsoft Outlook Interface :
Menu, Point
and click <View><Toolbars>
:
click
Reviewing

Click
<Send>
button

Send e-mail with attached file
Alternatively
Click <File> <Send
To>
<Mail Recipient (as Attachment)>
Inserting a Table
The quickest way to create a table is to click <Insert Table> button

The other way to create a table is to draw it when you click <Tables And Borders> button

The mouse pointer turns into a pencil, and the Tables And Borders toolbar appears

Click <Insert Table> button
Drag the mouse pointer to the cell to three column and three row and release the mouse button

Click <Tables And Borders> button
Draw a box using the pencil
Merging Table Cells
After you've created a table, you might determine that some of table data doesn't fit neatly within the row-and-column format that you've defined. You can use merge cells which is the process of joining multipe cells into one larger cell.
Can you repeat the two more drawings as shown?

Inserting and Formatting a Table
Sometimes, information is best presented in table format. With the Insert Table feature, you can create and format a table in PowerPoint.
Click <Insert> <New Slide>

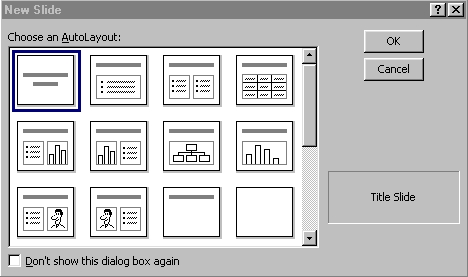
Select <Table AutoLayout>
The Table AutoLayout has been applied

Type Slide title : Impact Success Stories
Double-click the table placeholder
The Insert Table dialog box appears
Click <Table> Click <Insert>
Click <Table>
Select <Number Of Columns:> box with 2
Select <Number Of Rows:> box with 4
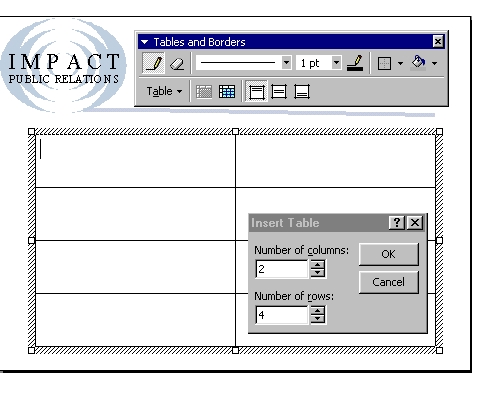
Click <OK>
Type the following
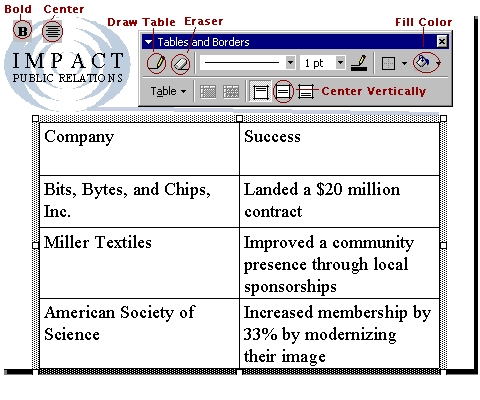
Select <Bold>, <Center>, Center Vertically>, and <Fill Color> buttons
Apply Format on the Company, Success

Click <Draw Table> button
Draw a line under Miller Textiles
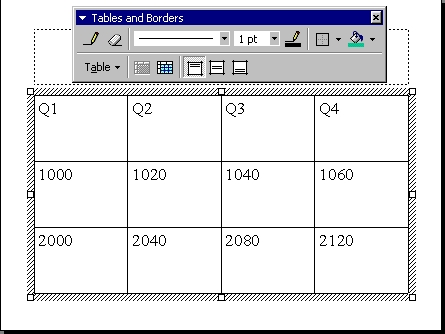
Click <Insert> <New Slide>
Select <Table AutoLayout>
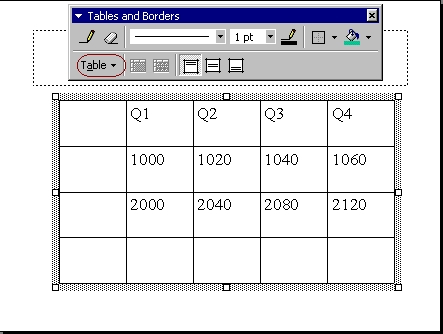
Select <Number Of Columns:> box with 4
Select <Number Of Rows:> box with 3
Type the following
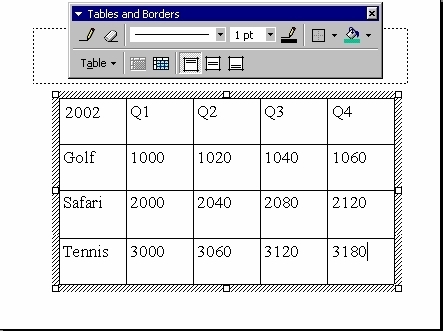
Insert Rows and Columns from <Table> of <Tables And Borders> toolbar
Type the following
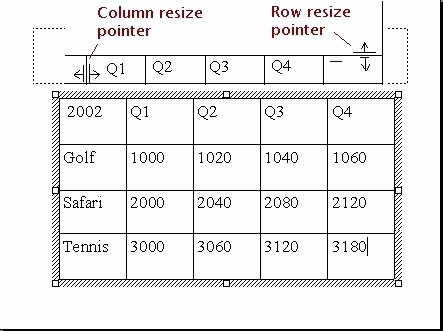
Resizing a Table
PowerPoint lets you resize a table in many ways : column, row and entire table by positioning the mouse pointer over the table.
Adding Shading to a Table
Shading to all or parts of a table emphasizes a portion of the table or to give the appearance of different sections in the table, to help call attention.
Select the first row with the subheading
2002 Q1 Q2 Q3 Q4
Click <Tables And Borders>
The Tables And Borders toolbar appears
Shade the row in Red
Select the remaining rows
Click <Tables And Borders>
The Tables And Borders toolbar appears
Shade the rows in Orange


Final
Project
PowerPoint
Final Project
 Edwin
Koh : We
completed on the
Edwin
Koh : We
completed on the
New
Knowledge and Skills in
MS
PowerPoint 2000 Topics 8.