
A view of the route from a pic in the
spring

The 8 km bike ride
Time to start hiking as I'm warmed up
pretty good from the bike

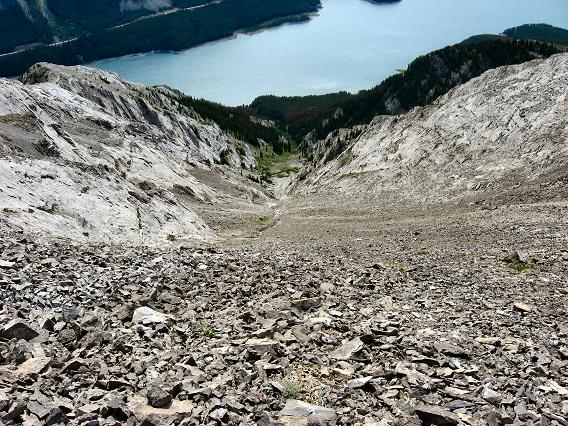
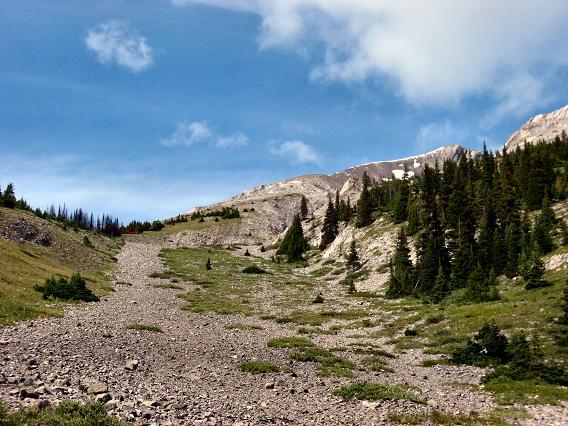
A view above tree line of the steep
direct gully

Route taken as the steep gully narrows
Looking back from the first ridge
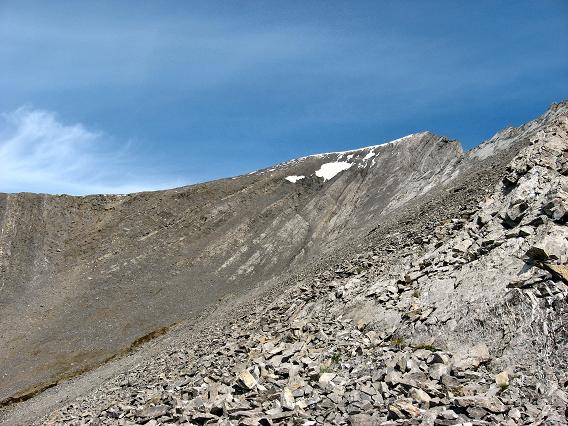
Ug, need to traverse another gully to
the summit ridge, didn't realize that

Looking back, steep and loose terrain

On the last part of the final ridge
A short traverse the summit still not
in view
Looking back as we approach the down
climb section
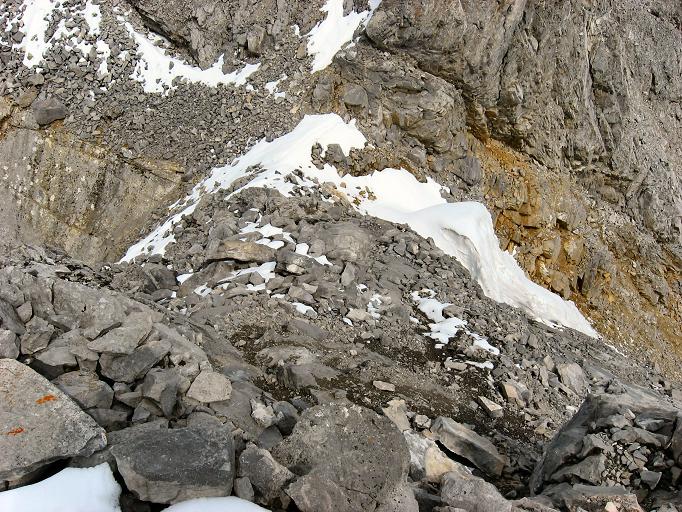
The 10 meter downclimb
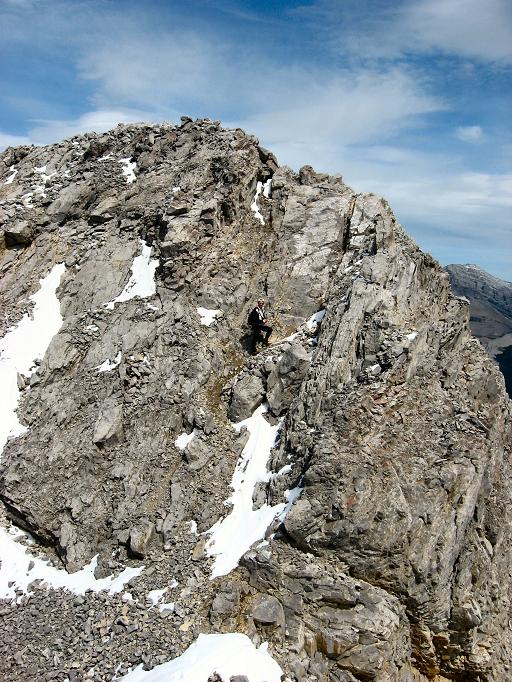
The 10 meter up climb
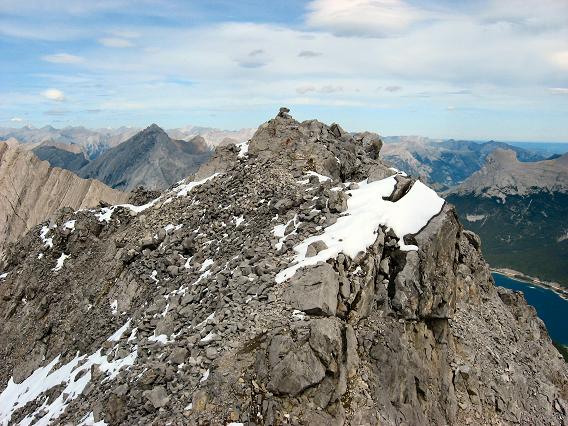
Just past the up climb the summit
cairn finally comes into view
Narrow spot looking back from summit
cairn
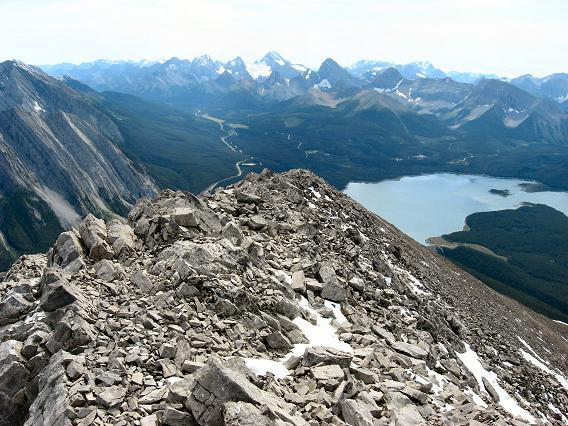
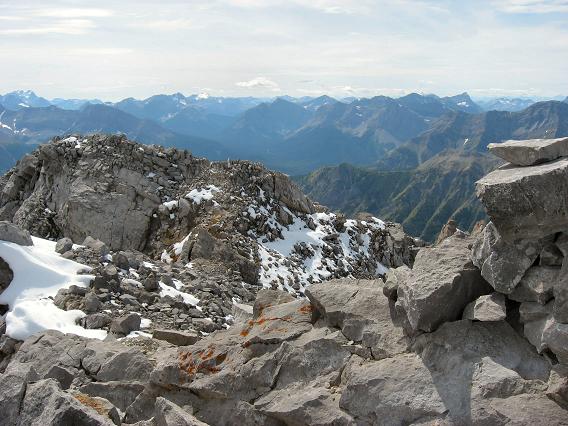
Nice views from the summit

The 2 routes for Nestor
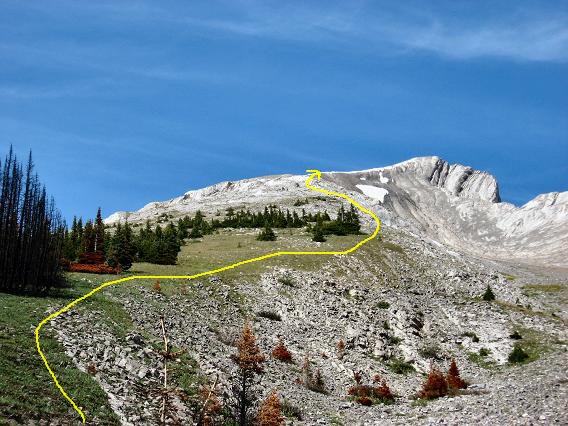
The shallower but longer gully route
directly to the summit ridge
A more distant look
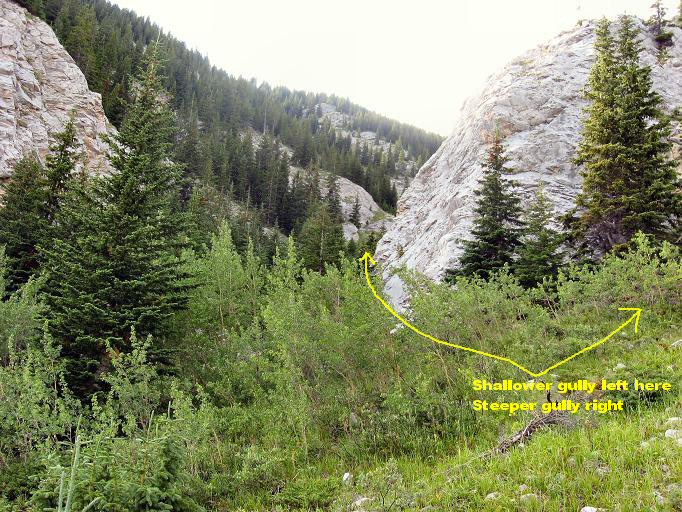
The choice is yours
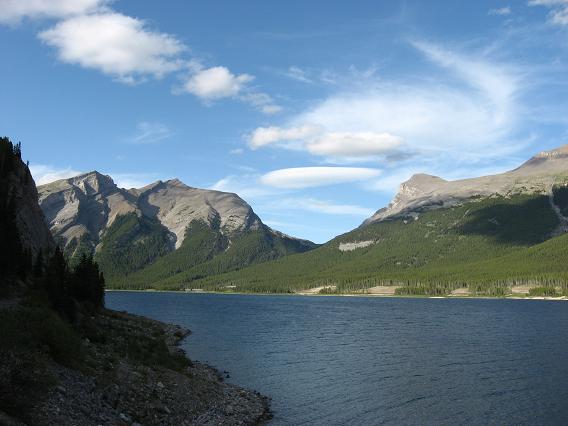
Rimwall on the left and Wind Tower on
the right
Mt Nestor
Scramble: Class 2 – Steep Off-trail Hiking for the a good
portion, faint trail for a portion
Altitude: 2,975m (9,760 ft)
Elevation Gain: 1,250m (4,100 ft)
Ascent Time: 3 – 4 Hours
Best Season to Scramble: Mid-June to September
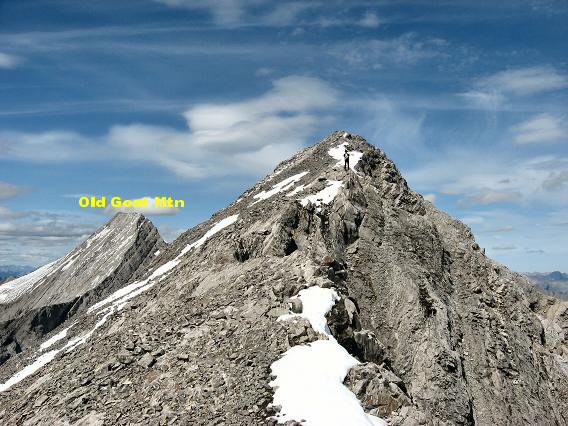
Highlights
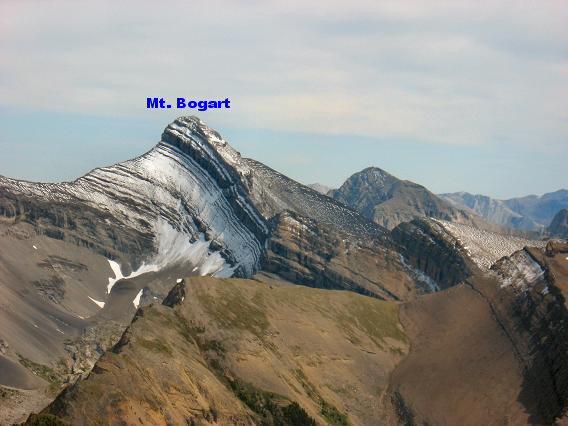
Great summit views, Old Goat Mtn, Assiniboine,
Sparrowhawk, and Mt Bogart to name a few.
Getting There
From the Bow River bridge in Canmore it’s around 17+ km
to the turnoff to cross the 3 Sisters dam to access the West Spray Lakes
road and campground. The road from the Bow River bridge takes you past the
Canmore Nordic Centre and onto the Spray Lakes road (packed gravel). Once
you cross the 3 Sisters dam hang a left and drive through the campground and
continue on until you arrive at a closed gate, parking available here.
Route Description
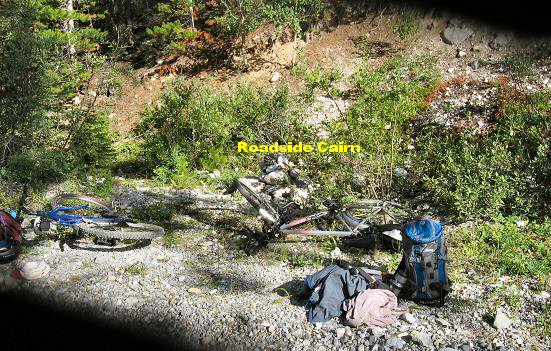
From the parking lot bicycle for 8 km on the relatively
flat West Spray Lakes road until you come to a "s" curve in the road, watch
for the cairn to your right. This is your starting point. The trail takes
you up the right side of the drainage through some burned tree area then
after only about 20 minutes you are above tree line and way lies straight
ahead if you are taking the steep gully or to your left if you are taking
the shallower gully. If you take the steep gully it is basically zig zagging
up the hill as there is no trail. There is some hands on climbing as the
gully narrows and then opens up to the first ridge. From the first ridge you
must traverse and cross a big gully to the summit ridge proper. The terrain
is steep and loose but once on the summit ridge there is a faint switch
backing trail. You cannot see the summit from here as once you reach the
highest point you do a gradual ridge walk. At the end of the ridge there is
a down climb of around 10m then up the other side. The down and up here is a
bit of hands on climbing but only a small amount of exposure in dry
conditions. If filled with snow you would need to be extra careful, perhaps
even a belay would be in order. From there you are only a couple of minutes
from the summit with another narrow section to cross over but no real
exposure if dry.
If you would like a slightly longer but more
straightforward hiking route I would recommend the left hand turn up the
more shallow gully, see the pictures. Going up this gully allows you to
directly access the long summit ridge in an easy and gradual manner. Both
routes have their advantages but both routes require quite a bit of off
trail, faint trail navigation with the extra work your ankles and stabilizer
leg muscles will have to do on the loose rocks.
