Excel 2000 Module 8
Others
(Optional)
Finding Cell Content
In a large worksheet, the content of some rows or columns might not fit on one screen. With Excel, you can locate using Go To command.
To find the location of the cell :
Click <Edit> <Go To>
Type AA100

Alternatively
Select <F5> button
Type A1
Home <Ctrl><Home>

Managing and Shrinking a Worksheet on Screen
When you create a worksheet, Excel displays the cells and any data they contain at a standard size, which Excel calls 100%. You can magnify, or shrink a worksheet.
Select any Cell
Click <View> <Zoom>
Click <200%> <OK>

Each cell of the worksheet appears twice its original size.
Click <View> <Zoom>
Click <Custom> button
Type 60 Click <OK>
Click <View> <Zoom>
Click <100%> <OK>
Using Format Painter
The Format Painter button allows you to copy formatting from a cell or a range of cells and apply it to another cell or range of cells. Note this is for one-time.
Select Cell (Apply the Format)

Select Range (To be Applied the Format)
The row labels now appear in red, bold, and 12-point Times New Roman font.


Creating and Applying Styles
A style can combine the following types of attributes (fromatting characteristics) :
Number, Alignment, Font,
Border, Patterns, Protection
You can modify and create the attributes of any of the styles.
Select Cell
Click <Format> <Style>
Currently Normal style as the default
Click Style Name box Type Normal2
Style Normal2 is created

Click <Modify> button Click <Font> tab
Click <Times New Roman> on the Font list
Click <Bold> on the Style list
Click <14> on the Size list Click <OK>
Select another Cell
Click <Format> <Style>
Click <Normal2> Click <OK>
Hiding and Unhiding Rows and Columns
Sometimes you more rows or columns in a worksheet than you want to see at one time. In such situations, you can hide rows or columns so that they don't appear on your screen or in your worksheet printouts.
Select Columns D through L
Click <Format> <Column>
Click <Hide>

Select Row 3
Click <Format> <Row> Click <Hide>

Select Columns C and M
Click <Format> <Column>
Click <Unhide>

Select Rows 2 and 4
Click <Format> <Row>
Click <Unhide>
Freezing and Unfreezing Rows and Columns
If you want to see the other side of the worksheet and display on the same screen, you can freeze rows and columns so that they remain on the screen even when you scrool down and across the worksheet.


Select Cell
Click <Window>
<Freeze Panes>

Home
<Ctrl>
<Home>
Click
<Window>
<Unfreeze Panes>
Sending Workbooks via E-mail
You can have two options for sending a workbook via e-mail message without leaving Excel, or you can send an Excel file as an attachment to an e-mail message.
Click <File> <Send To>
Click <Mail Recipient (as Attachment)>
The e-mail message form appears.
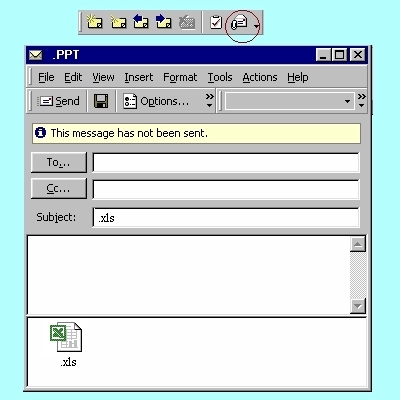
The Excel file is included as an attachment to the message.
Click <File> <Close>

Practice
Final Project
Practice
Excel
2000 Final Project
Practice
Exercise (Optional)
Practice 2000Exercise
Click <File> <Close>
Click <File> <Exit>
 Edwin
Koh : We
completed on the New
Knowledge and Skills in
Edwin
Koh : We
completed on the New
Knowledge and Skills in
Excel
2000 Module 8.