

Instructions:
H: The door handle, the hinges and the window handle
| 1. The door handle a. Take a piece of white doll fimo or porcelain fimo or Fimo-translucent. (No Fimo-Soft or any coloured Fimo, please!) b. Work it through, until it is soft. c. Roll out one flat piece and one of the thickness of a little more than 1/2 cm. |
|
| d. From the flat one cut out a piece of 8 mm x 2 cm and from the thick one a piece of 8 mm x 1,5 cm (BTW, 1 cm has 10 mm). Those measurements are " about" measurements, no problem, if it is a bit bigger or smaller. Pic 96 |
Pic 96 |
| e. The flat piece will go onto the outside of the door and the thick
piece will be the door lock for the inside. Work keyholes into both pieces with a ballpoint tool (stylus) or a thick needle. Cut a fancy edge out of the flat piece and decorate with a needle. Pic 97 |
 Pic 97 |
| f. Form two small balls and press them onto the plates carefully. Pic
98 |
 Pic 98 |
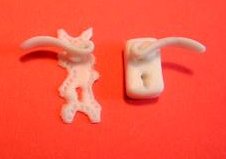
| g. Form two Fimo-drops of about 2 cm long and 1/2 cm wide and press them
flat. Form two door handles out of those as shown in Pic 99 |
 Pic 99 |
| 2. The hinges. a. Take two toothpicks and paint them black. Cut two pieces to fit the " Z " on your door and glue into place with Tacky. Pic 100 |
 Pic 100 |
| b. Cut 6 pieces of about 8 mm to 1 cm. Glue two of them together to build a little " T ", this is the window handle. Glue into place. Pic 101 |
 Pic 101 |
| c. The other 4 pieces are the window hinges, glue into place as shown in Pic 102 | 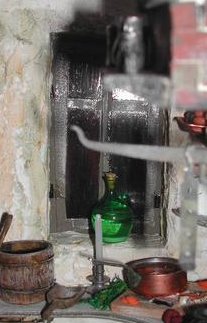 Pic 102 |
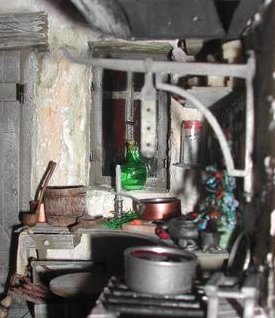
| Your Project is now ready to decorate, Enjoy! | |
{Workshop - Page 1}
{Page 2} {Page 3}{Page
4} {Page 5} {Page 6} {Page 7}
{Home}
{Workshops}
{Links}
