
Instructions:
F: The " Art-Part ", colouring the walls and stones
| a. Take out the artist watercolours Light Ochre Raw Umber Olive green Paynes-grey Important! Use artist watercolours always with a very wet brush and put always water on the surface, before you paint! The pigments in those colours are very fine and if you pick up too much paint with a too dry brush, you will never get off the paint off the wall or stones, it " creeps" into the surface immediately. It is always better to add more colour carefully. |
|
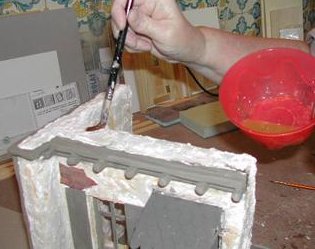
| b. Put 4 soupspoons of water into a bowl and add Light Ochre
with a soft very wet brush. Pic 69 Wet the walls with this mixture and add some areas with more of the Light Ochre. Pic 70
Pic 69 Note: Use all 4 colours while the surface is still wet. Only the first layer of Light Ochre is a wash, but use the other colours with a very wet brush and don’t pick up too much paint at once. If it is not bright enough, it is always better to add another layer. |
Pic 70 |
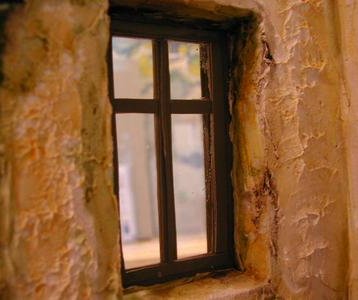
| c. Don’t forget to do the tops of the walls also. Pic 71 |
Pic 71 |
| d. Add Raw umber to the edges and corners with a
very wet brush. Always leave some of the Light ochre visible. Pic 72, 73, 74, 75 |
|
|
Pic 72 |
Pic 73 |
|
Pic 74 |
Pic 75 |
| e. Add very little of Olive green to the edges of the
stones and to the corners. Leave light Ochre and Raw Umber visible. Pic 76, 77,78 |
Pic 76 |
Pic 77 |
Pic 78 |
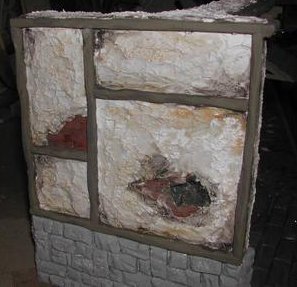
| f. Add some of all 3 colours around the bricks and the hole
in the wall Pic 79,80
Pic 79 |
Pic 80 |
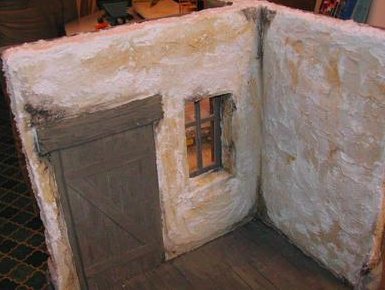
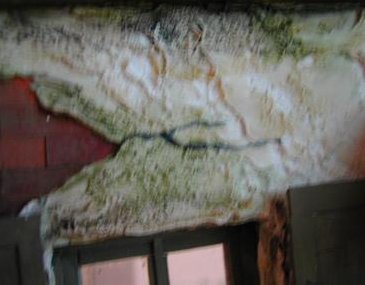
| g. Do the same procedure in the inside of the scene. Pic 81,82,83 |
Pic 81 |
Pic 82 |
Pic 83 |
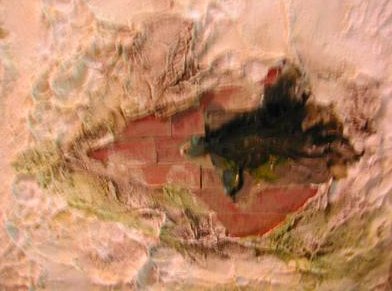
| h. Take a very fine brush (No. 00) and the Paynes-grey.
Use just a little water to pick up the paint. Paint "cracks" where the bricks
are. Pic 84 |
Pic 84 |
| Please note: right after doing the paintwork,
your scene will look terrible and you want to cry. The colours are very bright and
don’t look good at all. DON`T WORRY! Let it dry completely and the ugly duck will turn into a beautiful swan ! |
|
{Workshop - Page 1} {Page 2} {Page 3}{Page 4} {Page 5} {Page 7} {Page 8}