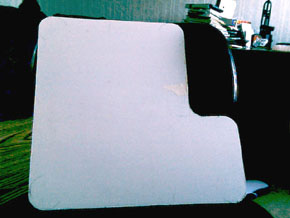
 The next step is to cut the lexan to shape. I did the same
thing that i did for the case side. Measure, remeasure and draw plan out. Except with the lexan, i made all sides 3/4 inch larger than the window to accomodate the screws. With cutting this, i used a large tooth jigsaw
blade made for cutting wood.
The next step is to cut the lexan to shape. I did the same
thing that i did for the case side. Measure, remeasure and draw plan out. Except with the lexan, i made all sides 3/4 inch larger than the window to accomodate the screws. With cutting this, i used a large tooth jigsaw
blade made for cutting wood.
A tip when cutting lexan: never force the jigsaw or the forced friction will heat the plastic and cause it to melt along your cutting edge. Just let the saw flow itself,
refrain from uing the amount of pressure you used with cutting the metal. After cutting, sand the edges down a little just to eliminate any frays or rough spots.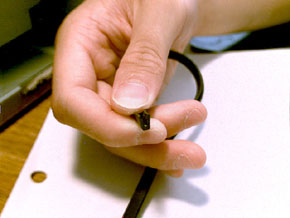
I decided to cover the edges of the window with this window molding. It finishes off the window wonderfully as it covers up the cut. The kind that i originally planned on using was a bigger type to cover up the screws that i will use to attach the window, but i ended up using a smaller molding because my supplier sent me it. It's easier to form in the curves anyway so it's quite good.
 The molding is pretty self-explanatory, there's a
sleeve-like side that you just slide over the metal edge of your case. Press firmly on it to help it stay in place. If you are using the same size molding as this, an adhesive is not necessary although it wont hurt. If you using
something that is larger, some sort of adhesive such as silicone sealant may be useful. I didnt use any kind of adhesive on mine, i think the pressure of the lexan against the case will be enough to hold the molding in place.
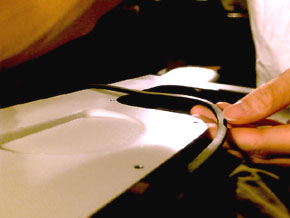
Here is a picture of the molding being attached to the edge.
The molding is pretty self-explanatory, there's a
sleeve-like side that you just slide over the metal edge of your case. Press firmly on it to help it stay in place. If you are using the same size molding as this, an adhesive is not necessary although it wont hurt. If you using
something that is larger, some sort of adhesive such as silicone sealant may be useful. I didnt use any kind of adhesive on mine, i think the pressure of the lexan against the case will be enough to hold the molding in place.
Here is a picture of the molding being attached to the edge.
Window and Blow Hole: Part 2
Related Links |